 I measured the holes about 1/2in apart.
Materials:
64 LEDs - 3mm
Resistors (you can calculate the amount of resistance you need, I used 200ohm)
a through-hole generic PCB board
Wooden board (not huge, just big enough to stick the LEDs in to solder the layers)
Hookup wire
Male-to-male jumper wires
Craft wire (I used 0.8mm)
Jumper wires
Elegoo Uno (I bought the Elegoo knockoff of an Arduino since I didn’t have a ton of money, it works exactly the same!)
A LOT of solder
Tools:
Soldering station
Drill (with 3mm OR 1/8in drill bit)
Wire cutters and strippers
Round nose pliers
crocodile clips (very, very useful)
Step 1: Measure out equidistant holes in your wooden board. It’s really important that they’re as equal as you can get it, or else your LEDs are going to stand all wonky, and it’ll be hard to solder them all together.
I measured the holes about 1/2in apart.
Step 2: Drill the holes!
 It helps to have an LED right next to you to make sure it’ll fit nicely in each hole.
Step 3: Solder the LED strips. Take all the LEDs and bend the cathode (the short, negative lead) in such a way that it doesn’t touch the anode (the longer lead), and make sure when you fit them into the holes on your wooden board that the cathodes overlap each other so you can solder them together, like so:

Once you solder all the strips, lay them out in each set of holes, (with all the cathodes pointing the same way), and….
Step 4: Cut some craft wire and solder it across the LED strips to make it a square!

At this point I recommend using a 9V battery with a resistor on the positive (red) lead, and with the black lead touching the craft wire, go through and test all the LEDs to see if any burnt out or aren’t working. Trust me, it’ll save a LOT of time if you have to replace one now rather than later.
Step 5: Solder the layers! Line the layers up on top of each other (one at a time), and remember that you’re only soldering the leads pointing up.
 If you’re having a bit of trouble keeping the cube upright or the layers stable, the crocodile clips come in handy to steady the design.
 The above picture was actually a mistake, I accidentally flipped the layer around the wrong way and had to desolder it because all the cathodes weren’t pointing the right way. (The cathodes being the shorter leads that you bent earlier) I wanted to show an example of the crocodile clips, though.
Once that’s completed, you can turn the cube right side up!
 You can trim all the excess craft wire off. As for the cathodes sticking out on the sides, I cut them in a stepping-stone fashion like this tutorial said, which will make things easier once we hook the LEDs up to a PCB.
Step 6: Get the right PCB
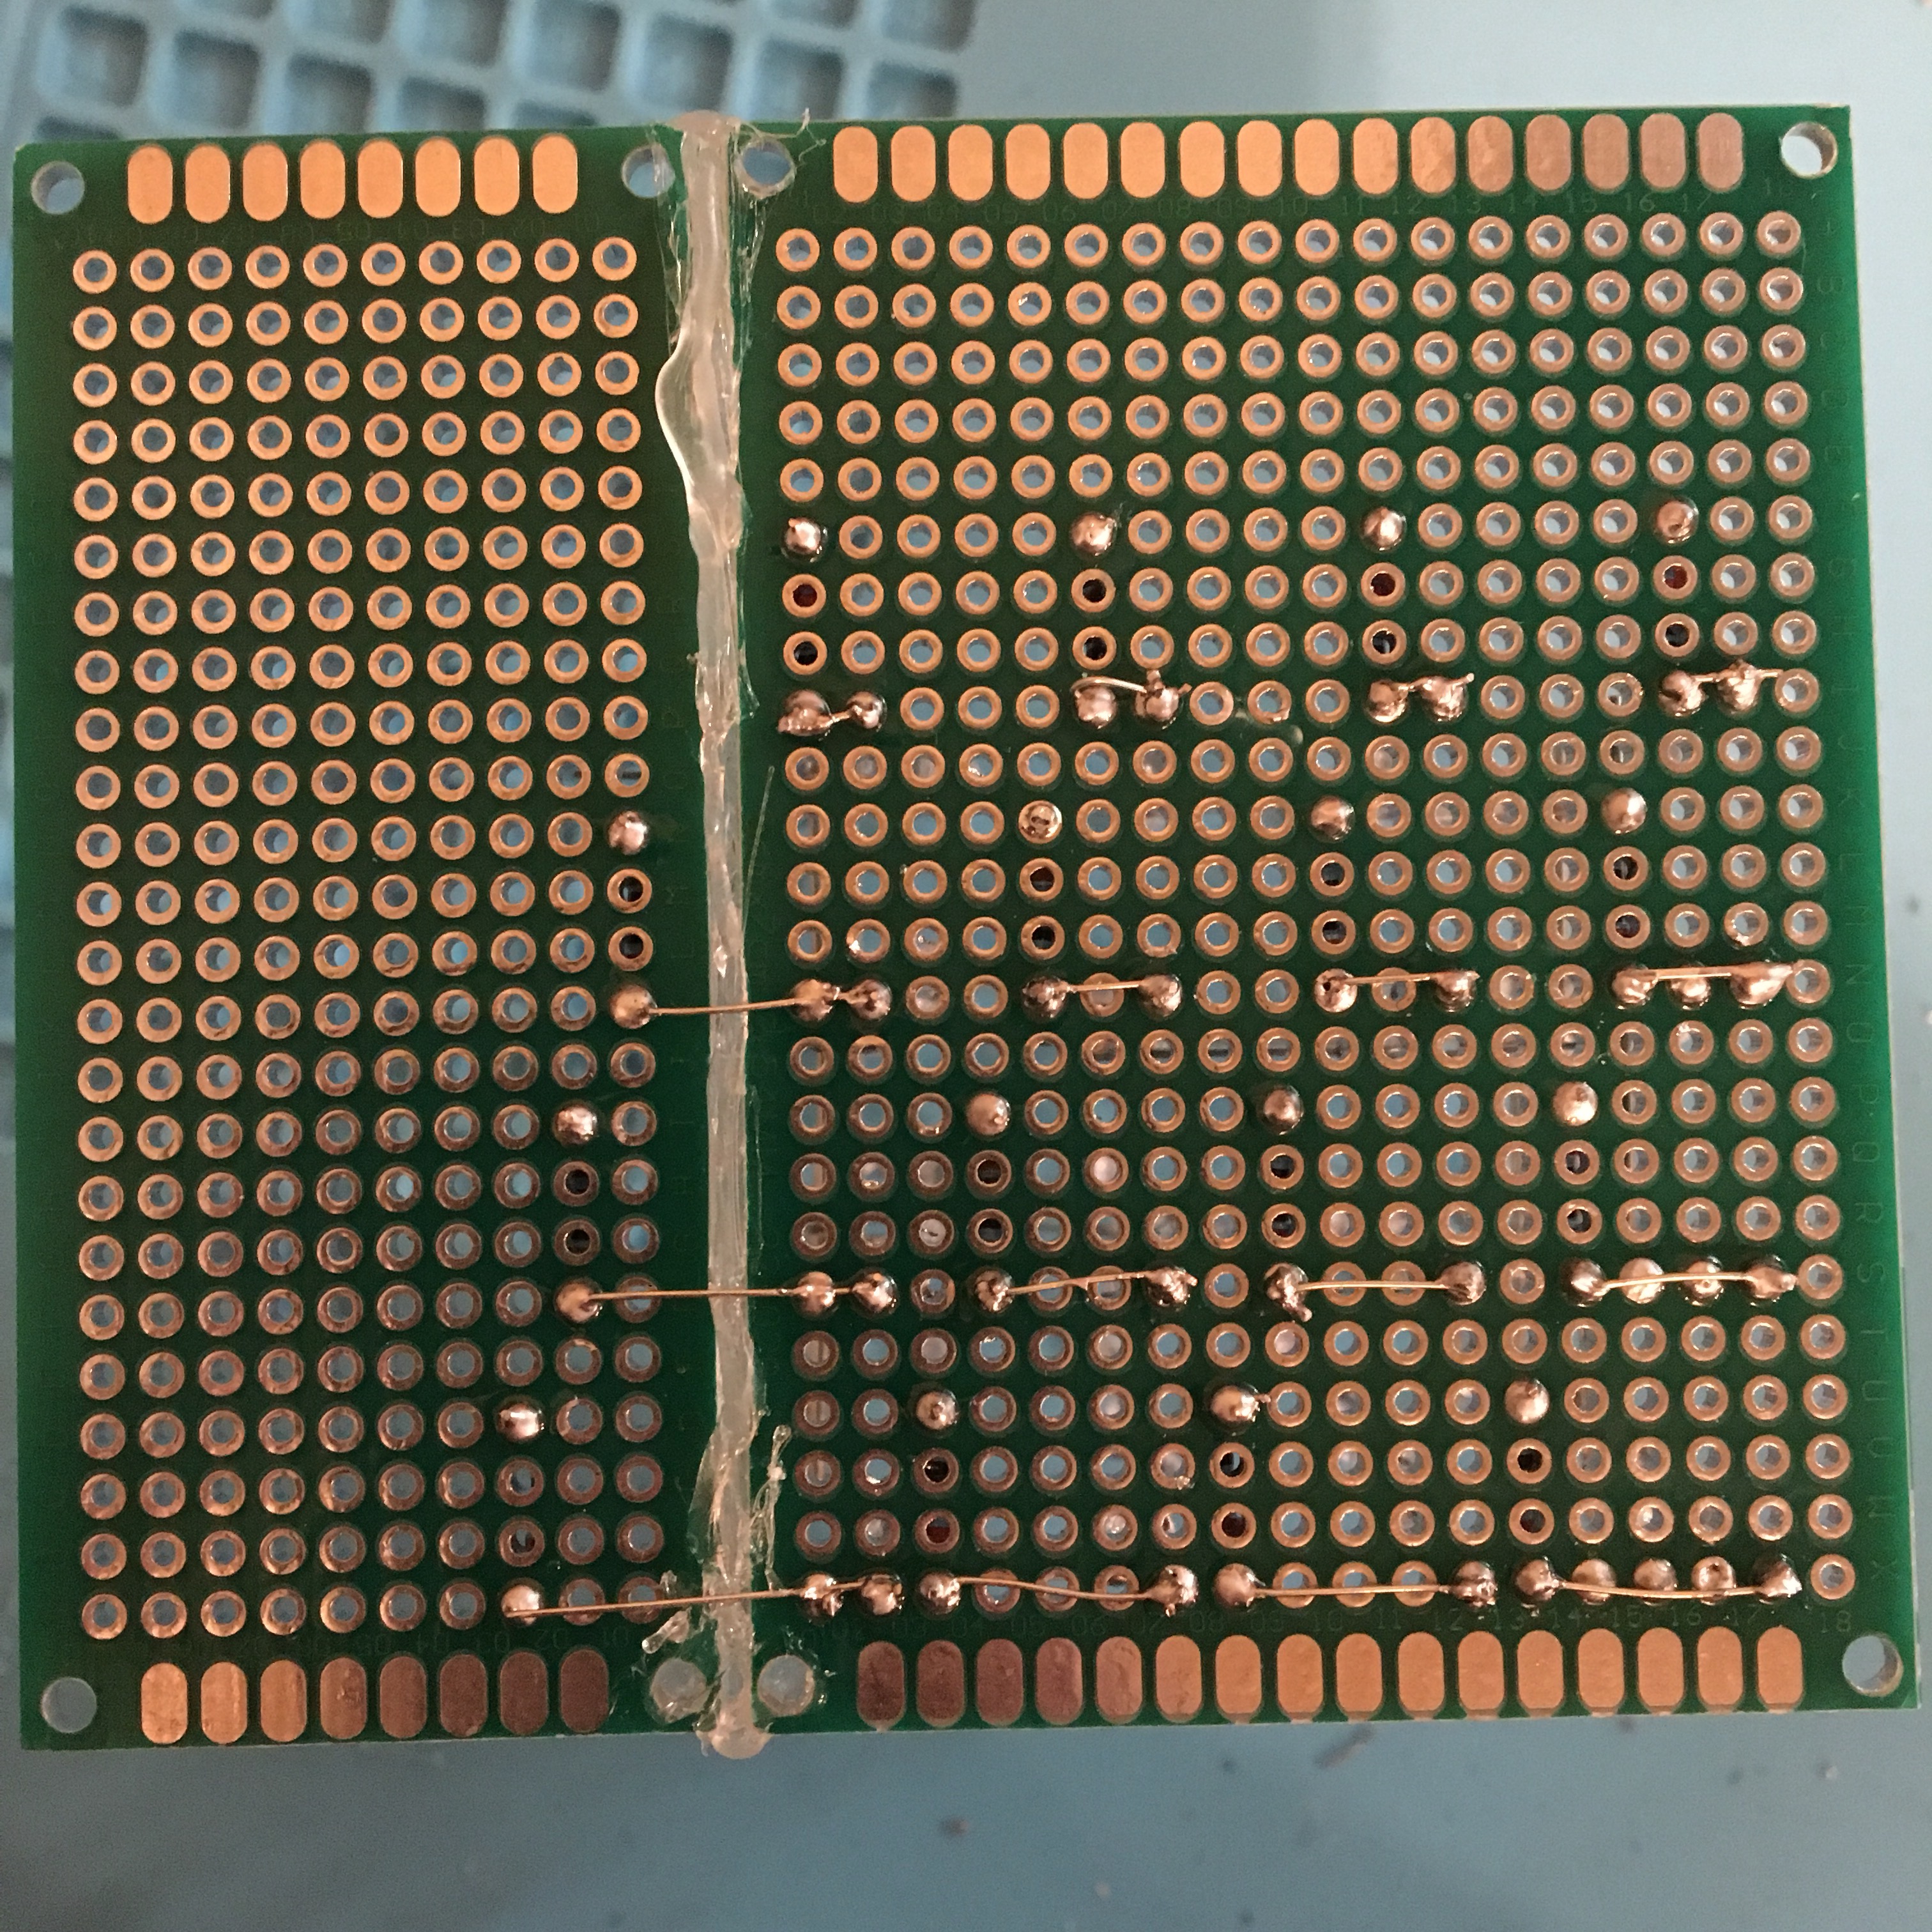
 I bought this PCB kit for…about $11, I think. It was a really good deal, these PCBs seem to work very nicely. They weren’t as big as they needed to be, though, so I hot glued two of them together.
This was probably the trickiest part of the whole project: getting 16 LED leads into tiny holes all at the same time. Round nose pliers were my best friend when I did it. Once you get them all in, solder all the joints at the bottom so all your hard work will stay in place!

Step 7: Put the resistors in.
Round nose pliers were super handy for this step as well. I chopped the leads of the resistors to be tinier than usual, then with some pliers I stuck them in the holes and soldered them in.

 With the leftover resistor leads I used them as mini hookup wire to connect the resistors to the LEDs on the bottom of the board.
Step 8: Cut up some more craft wire and solder it to the negative stepping-stone leads, and wire them down to the PCB. 
 Step 9: Get some hookup wire, strip the ends, and pull them all towards the oval pads to connect to the jumper wire GPIO thingies.
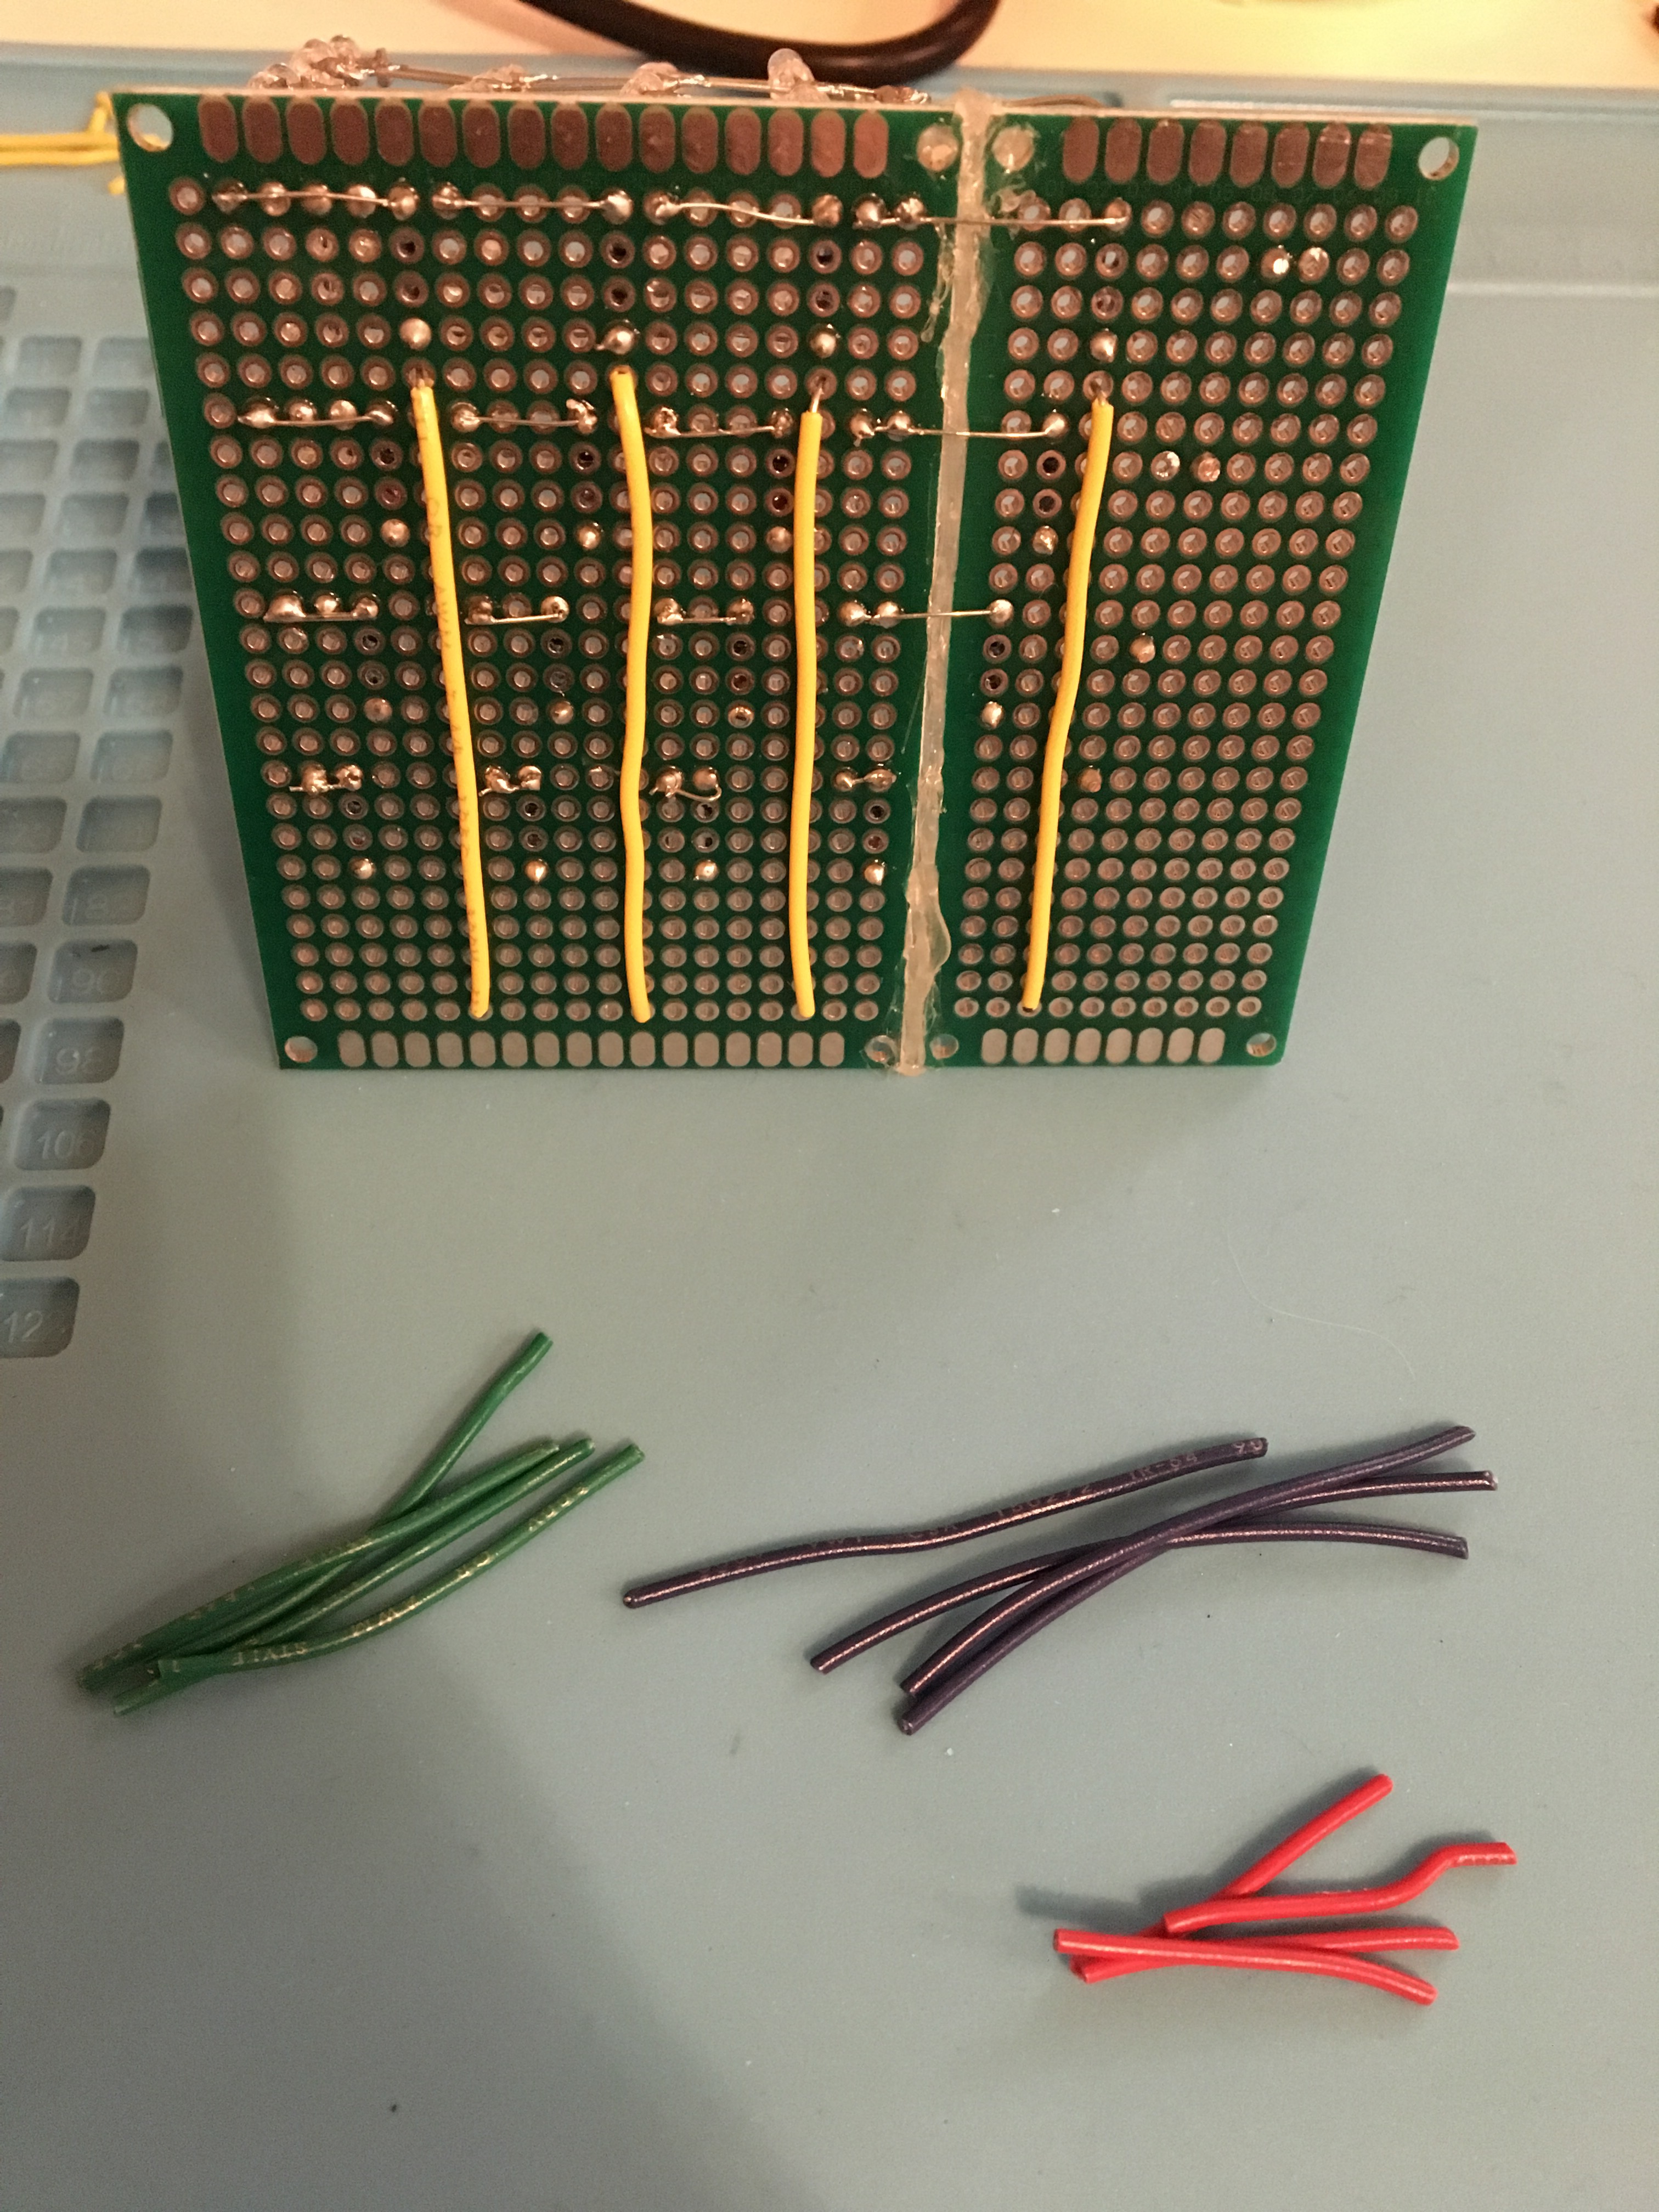
I would recommend starting with the smaller hookup wires, I found it hard to solder around the bigger ones already in place without almost melting the insulation stuff. 
Step 10: Solder the jumper wires to the board! As you can see, I color coded the wires based on which resistor it was connected to. That way, I’ll have an easier time connecting the jumper wires to the GPIO pins on the Uno.
I still have to get some small wire or just use solder to connect the hookup wire to the actual resistors and GPIOs, so the signals will actually flow through the circuit. But otherwise, the big job is finished.
And that’s it! I followed this tutorial the whole time: http://www.makeuseof.com/tag/how-to-make-a-pulsating-arduino-led-cube-that-looks-like-it-came-from-the-future/
Next time, I’ll put up a post on the Uno, loading the code, and getting it all to run.
{thallia}